Process Your Own C41 Color Film
Processing your own color film is just as easy, if not easier, than processing black and white film. The materials you will need are the exact same as you needed for the black and white processing, however, I will post the list here as well.
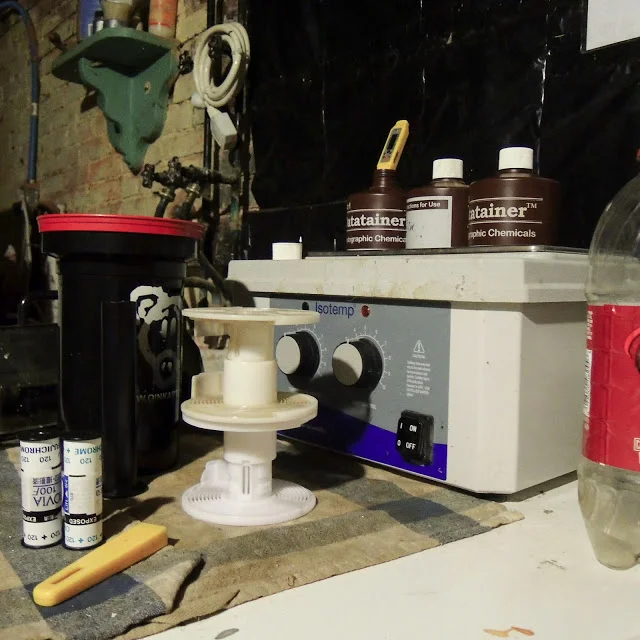
Materials
Processing tank- Personally, I have found the Paterson 3 reel tank perfect.
Reels- I use the
A thermometer, as the temperatures need to be close to exact. Any thermometer that goes above 100 is fine.
C41 Kit--I use a unicolor kit from Freestyle.
.
Film Clips-I just use binder clips, they are readily available and cheap.
A sink with running water--You want to make sure you have a steady supply of water ready.
A changing bag-You can use a completely dark closet or bathroom, I made my own bag from two black trash bags, some velcro, and a lot of black duct tape.
Exposed Film
So, now that you have everything all ready,
You need to begin by mixing the chemicals. The instructions indicate how exactly to mix them. I use the
After you have loaded your film in complete
Step One--Presoak (I keep a 1 liter
Step Two--Developer (102 degrees for 3 minutes 30 Seconds). Pour the developer in the tank, and agitate
Step Three--Blix (95-105 degrees for 6 minutes 30 seconds). Same as above, agitate for the first 30 seconds, then 5 seconds every 30 seconds after that.
Step Four--Wash (95-105 degrees for 3 minutes) I just let the sink run into the tank, pouring out every few minutes.
Step Five--Stabilizer (Room Temperature for one minute) Pour this into the
Step Six--Hang Dry.
Every C41 film follows these steps, there is no deviation between
This kit is rated for 8 rolls, which is just too conservative. I've pushed my kits to around 40 rolls with pleasing results. After the first 10 rolls, add 30 seconds to the development time for each five rolls to compensate for diminishing chemicals.
First 10 Rolls--3:30
11-15 rolls--4:00
16-20 rolls---4:30
20-25 rolls---5:00
26-30 rolls---5:30
31-35 rolls---6:00
36-40 rolls---6:30
And so on.
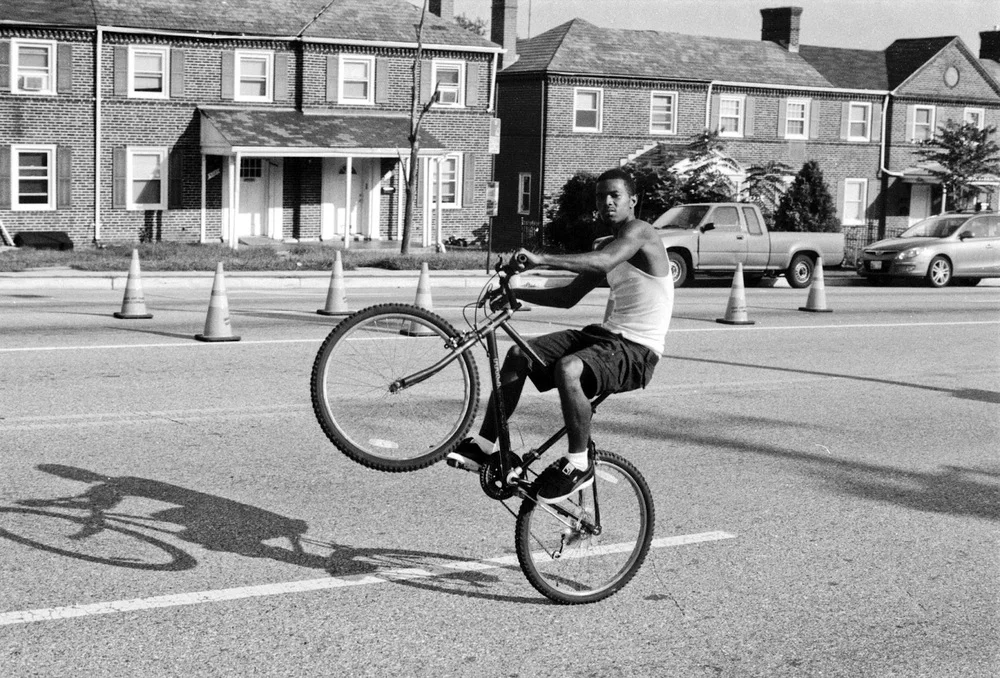
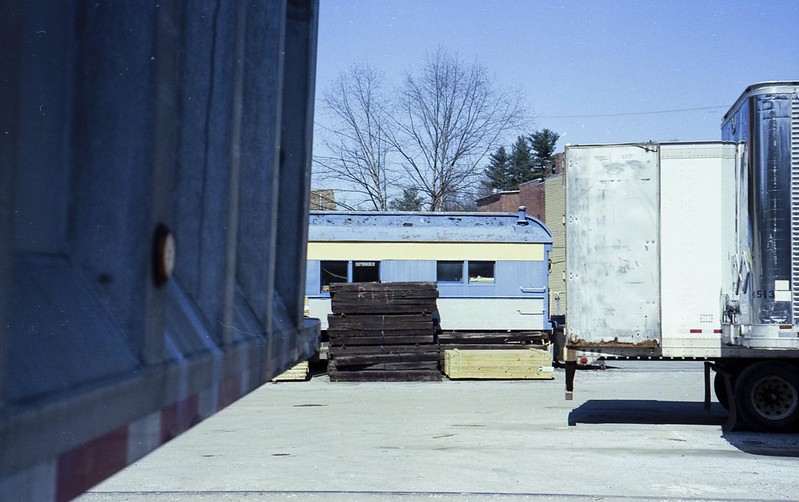
All of the following photos were shot with various cameras on various C41 films, processed with the
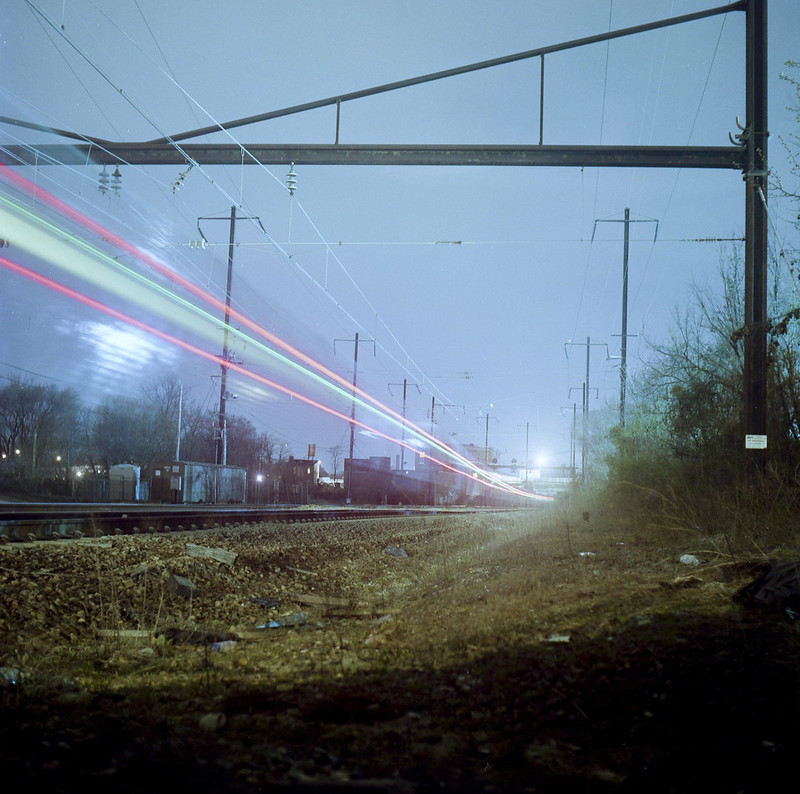
Yashica-Mat Em
Fuji Reala
Kiev 4a-Jupiter 8m
Kodak Portra 400vc